add share buttons

Tag: adventure lifeusa

Customizing Your Jeep Gladiator For Camping And Outdoor Adventures

The Jeep Gladiator is a vehicle designed to take you off-road and explore the outdoors. But, if you want to make the most of your Gladiator’s potential, you’ll need to customize it to meet your specific needs. Whether you’re looking for a camping-friendly setup or a rugged, off-road rig, there are plenty of ways to customize your Jeep Gladiator for your favorite outdoor activities. 

Image Source: Google

Suspension Lift

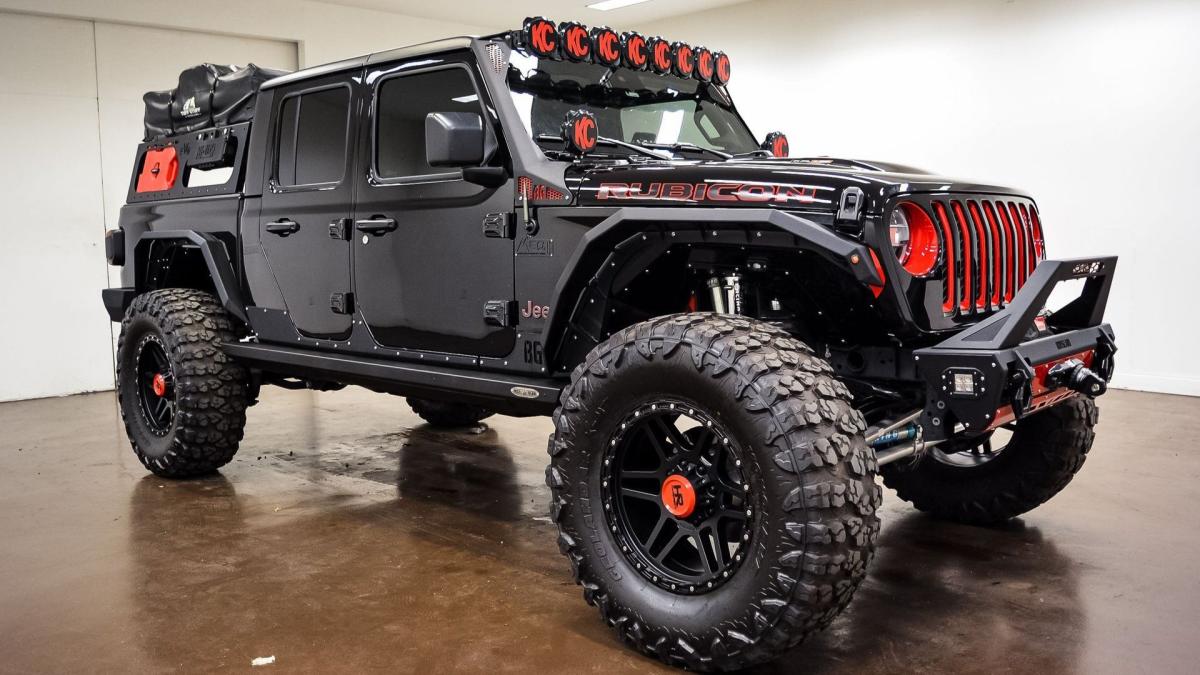
If you plan on taking your Jeep Gladiator off-road, you’ll need to lift the suspension. A lift kit will increase ground clearance, making it easier to navigate uneven terrain. It also provides more room for larger tires and wider wheel arches, which can help you tackle tougher terrain.

Storage Options

When it comes to camping, storage is key. You’ll want to make sure you have enough room to carry all your gear, food, and other supplies. Adding a cargo rack or basket is an easy way to increase your storage space. You can also opt for aftermarket storage systems, such as a bed box or drawers, to maximize your storage options.

Lighting

Lighting is essential for camping and off-roading. You’ll want to equip your Jeep Gladiator with a variety of lighting options. LED light bars are a great addition, as they provide a wide beam of light for illuminating the trail ahead. You can also add fog lights for improved visibility in foggy conditions, or rock lights for illuminating the terrain beneath your vehicle.

How To Install Emblem Overlay Decals For A Professional Finish

Installing emblem overlay decals is a great way to give your car a professional, finished look. Emblem overlays are decals that cover up existing emblems on your car, giving it a unique and stylish look. Here are some tips on how to install these decals correctly for a professional finish.

Clean the Emblem

Before applying the decal, you should clean the area around the emblem. Use a soft cloth and some mild detergent soap to remove any dirt, grime, or other debris from the surface. Make sure to dry the area completely before proceeding to the next step. To get more details about emblem overlay decals, then you may visit http://adventurelifeusa.com/

Image Source: Google

Position the Decal

Once the area is clean, you can begin to position the decal. Carefully peel the decal from its backing and lay it on the emblem. Make sure to line it up correctly, so that it covers the entire emblem. If you need to adjust the decal, you can do so by gently lifting it up and repositioning it.

Press the Decal

Once the decal is in the right position, you can press it down firmly. Use your fingers to press the decal into the emblem and ensure that there are no air bubbles. You can also use a squeegee to ensure that the decal is properly pressed down against the emblem.

Adhere the Decal

Once the decal is pressed down, you can use a heat gun or hair dryer to adhere the decal to the emblem. Make sure to keep the heat gun or hair dryer at least 6 inches away from the decal, and move it in a circular motion. This will help to ensure that the decal adheres properly to the emblem.